
How to Install Zellige Tile the Right Way: 7 Mistakes That Ruin the Look
Most zellige tile installations go wrong before the first tile is even set. The tile itself is not the problem: the decisions made around it are, things like grout color, joint spacing, substrate prep, and whether the installer has set zellige before. Get those seven decisions right and a handmade tile with natural variation reads as intentional. Get them wrong and the same tile reads as a bad DIY job.
Below are the seven mistakes that cause most of the complaints about zellige tile looking messy, uneven, or amateurish, with the fix for each one.
In this article
- What you'll need before you start
- Quick reference: grout, mortar, and sealer by surface
- Mistake 1: Treating zellige like machine-made tile
- Mistake 2: Skipping the dry layout
- Mistake 3: Getting the grout joint wrong
- Mistake 4: Picking high-contrast grout
- Mistake 5: Using standard thin-set instead of medium-bed mortar
- Mistake 6: Soaking tiles or skipping the sealing order
- Mistake 7: Ignoring the substrate and fixture cutouts
- FAQ
What You'll Need Before You Start
A zellige install uses mostly standard tile tools, with a few swaps that matter:
- High-quality medium-bed thin-set mortar (not standard modified thin-set)
- A margin trowel for buttering individual tiles
- Tile spacers, or none at all if you're running an edge-to-edge wall joint
- Grout: Mapei Ultracolor Plus FA for glazed zellige, Mapei Flexcolor CQ for unglazed
- A penetrating sealer (511 Porous Plus or equivalent) for unglazed tile
- A protective matte finish wax for unglazed tile after grouting
- 10 to 15 percent extra tile beyond your square footage, for layout control
- A level, to check your substrate before anything else
Quick Reference: Grout, Mortar, and Sealer by Surface
| Surface | Grout Joint | Sealing |
|---|---|---|
| Walls, glazed | Edge to edge, or 1/16 in for a visible line | Generally not required |
| Walls, unglazed | Edge to edge, or 1/16 in for a visible line | Penetrating sealer before grout, protective wax after |
| Floors, any finish | 1/8 in minimum, wider for slip resistance | Penetrating sealer, resealed every 1 to 2 years |
Mistake 1: Treating Zellige Like Machine-Made Tile
Zellige is hand-chiseled and kiln-fired, so no two tiles are exactly the same size, thickness, or glaze tone. Installers who fight that, forcing tiles into a perfectly rigid grid the way they would with machine-made ceramic, end up with a wall that looks like a botched version of a uniform tile instead of what it actually is: a handmade material with its own logic. The result is often described as an "amateur-style job," and it is almost always a planning problem, not a tile problem.
The fix: Brief your installer (or yourself) up front that variation is the feature, not a defect to correct for. A setter experienced with zellige works with the natural irregularity rather than against it.
Mistake 2: Skipping the Dry Layout
Laying tiles straight from the box without previewing the wall first is how you end up with odd color clusters, three similar tones bunched in one corner, or a distracting outlier tile dead center at eye level.
The fix: Lay the tiles out dry (on the floor or a table, mimicking the wall's dimensions) before any mortar goes down. Shuffle for even color and tone distribution, then set them in that order. This is also why you order 10 to 15 percent overage: it gives you tiles to swap out rather than tiles you're forced to use.

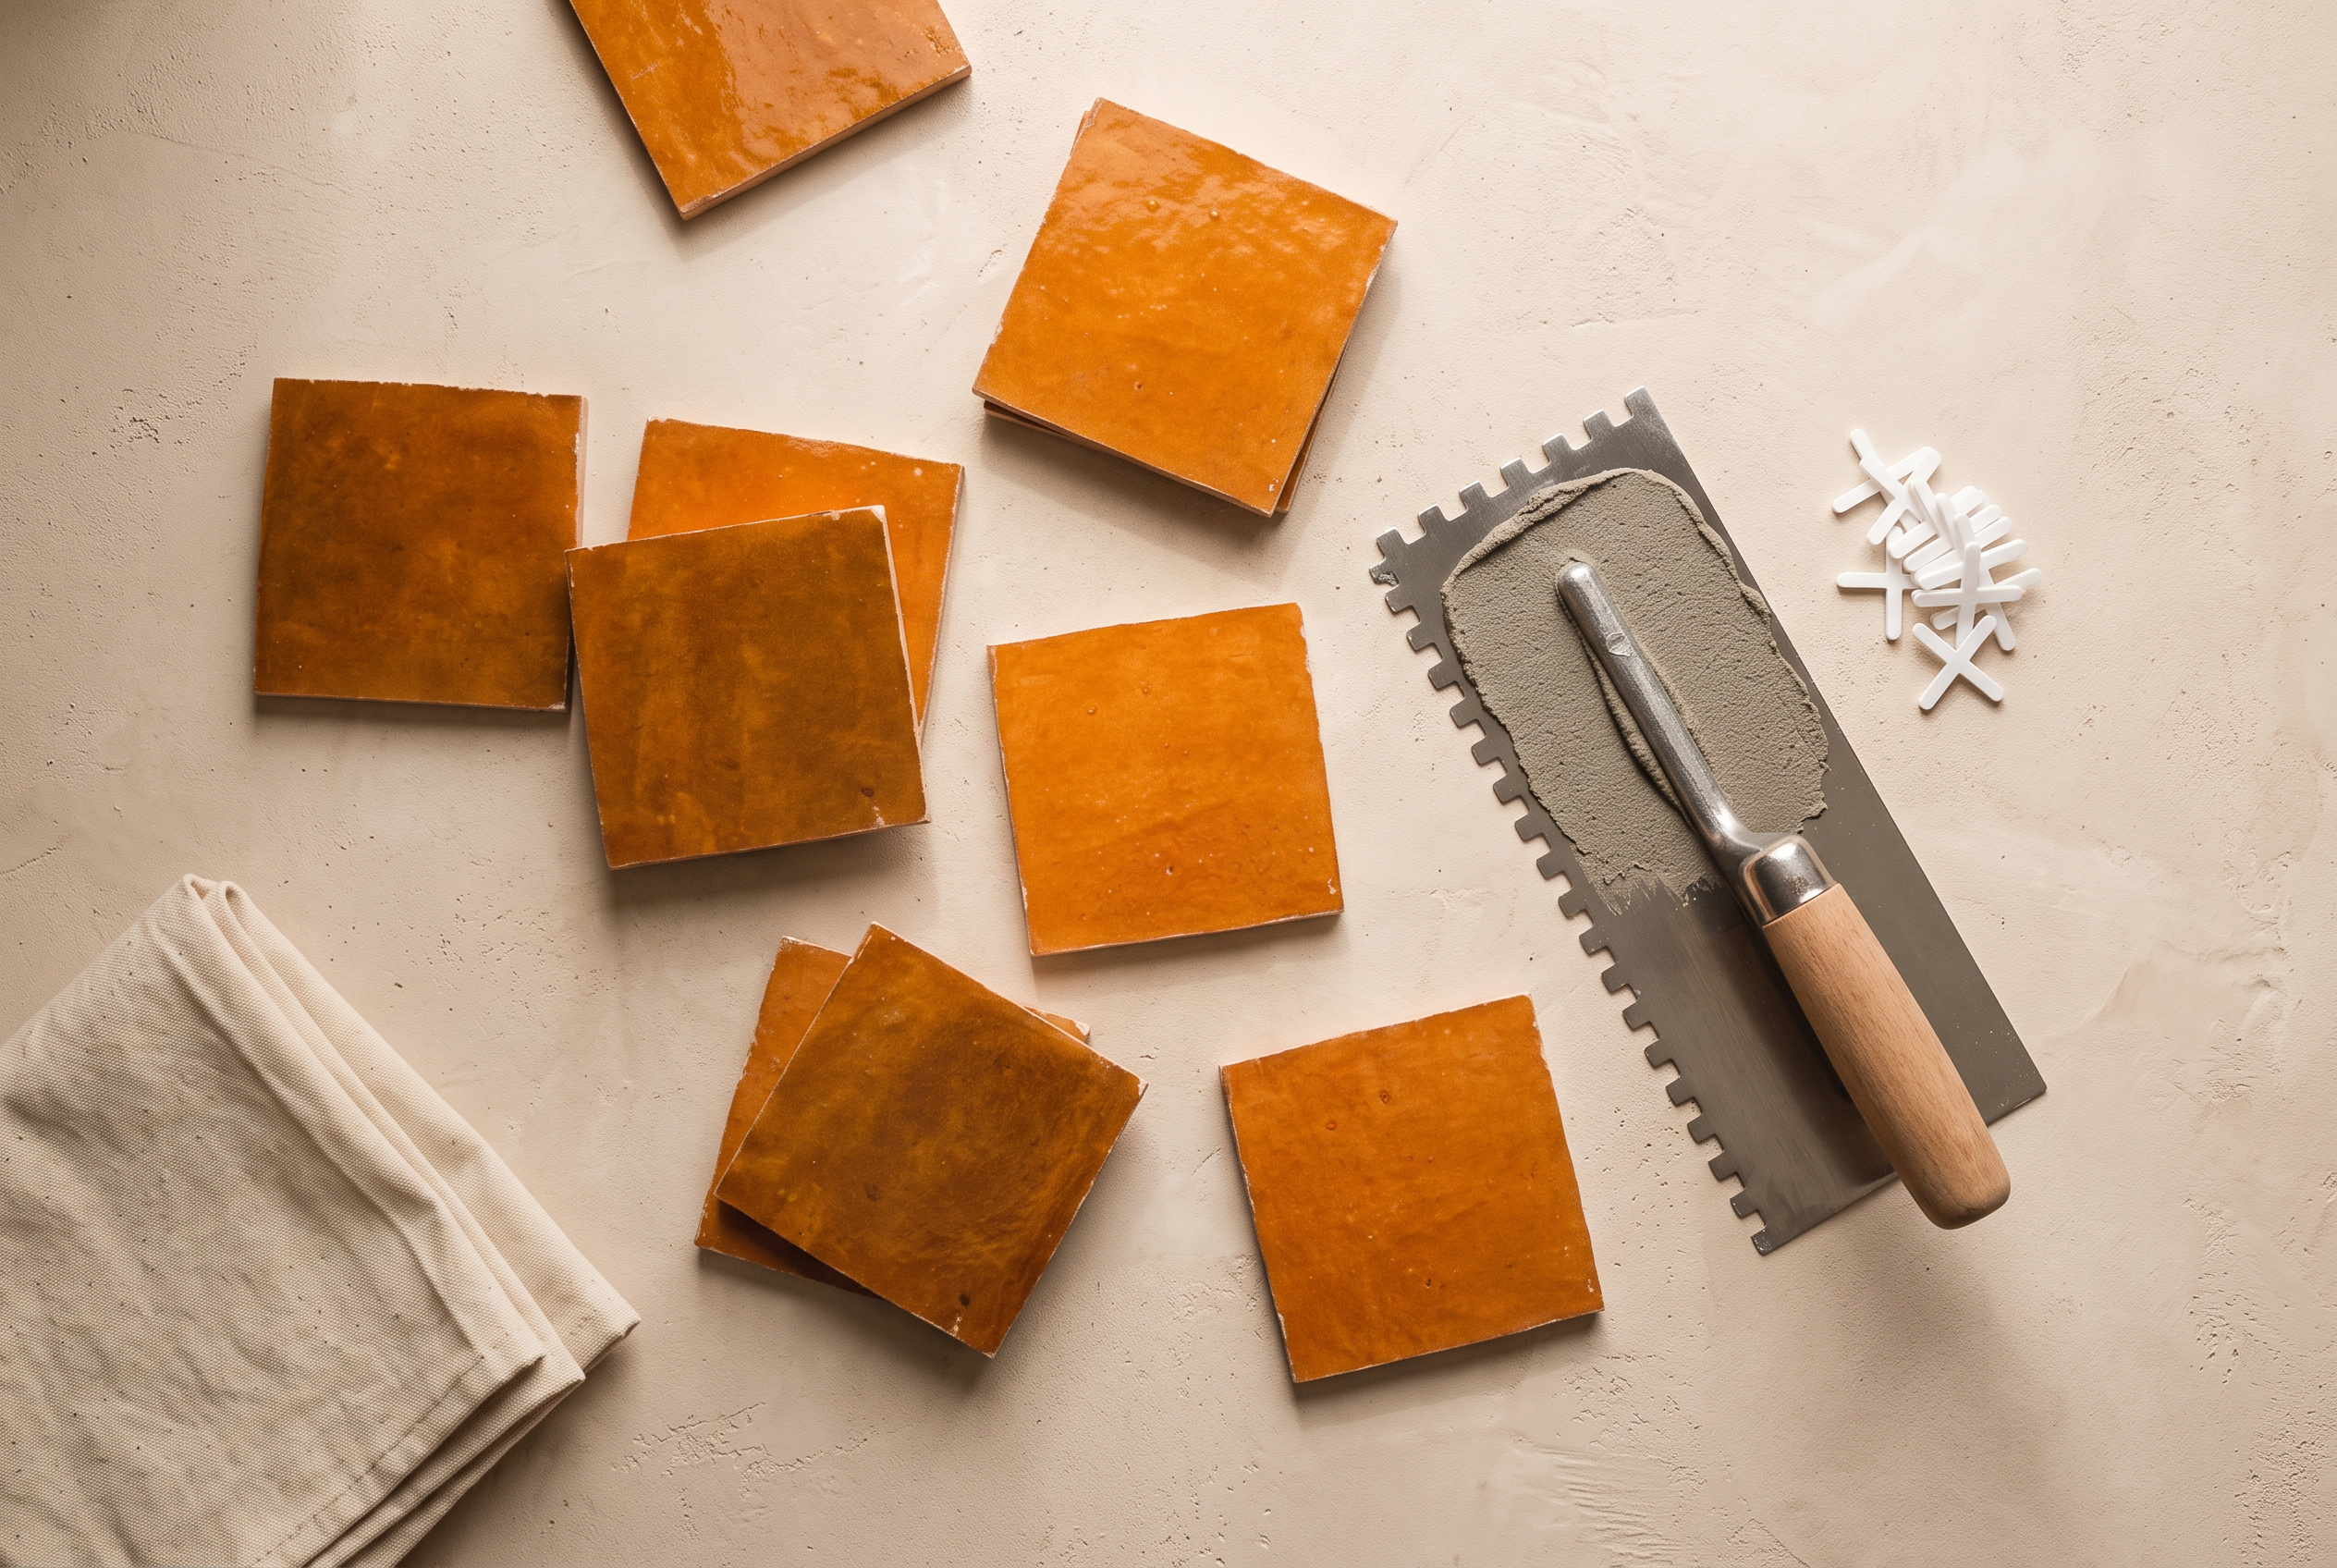
A warm, sun-baked tone with wide natural variation, worth a careful dry layout to distribute the deepest and lightest tiles evenly.
Mistake 3: Getting the Grout Joint Wrong
A medium-width grout joint, the kind that looks right on subway tile, is the single most common reason a zellige wall reads as messy instead of designed. It is wide enough to draw the eye to every irregular edge, but not wide enough to look like an intentional design choice.
The fix: Go to one extreme or the other. On walls, that means edge to edge for the traditional look, or a tight 1/16 inch joint if you want a visible grout line. On floors, run a minimum 1/8 inch joint, both for durability and for slip resistance, and widen it further in wet areas. Skip the in-between.
Mistake 4: Picking High-Contrast Grout
A dark grout on a light tile, or vice versa, outlines every single tile's irregular edge instead of letting the wall read as one continuous, shimmering surface. That contrast is what makes an otherwise well-installed wall look choppy in photos.
The fix: Match your grout to the tile color, or go one shade lighter. The goal is for grout lines to recede, not compete with the glaze.

A deep, saturated red that pairs best with a matched or slightly lighter burgundy grout, not a stark white or black.
Mistake 5: Using Standard Thin-Set Instead of Medium-Bed Mortar
Zellige tiles vary in thickness from piece to piece, sometimes noticeably. A standard modified thin-set, designed for uniform tile, does not have the body to absorb that variation, which is how you end up with lippage (tiles sitting at slightly different heights) across the wall.
The fix: Use a high-quality medium-bed thin-set mortar, and butter the back of each tile individually with a margin trowel rather than relying only on a notched trowel across the substrate. Buttering each tile fills the gaps caused by thickness variation and prevents the air pockets that cause hollow-sounding, eventually loose tiles.
Mistake 6: Soaking Tiles or Skipping the Sealing Order
Two related mistakes here. First, soaking unglazed zellige tiles before setting them (a habit carried over from some traditional and porous tile types) causes efflorescence, a chalky white mineral residue that is difficult to remove once it sets in. Second, sealing in the wrong order, or skipping a step, leaves unglazed tile vulnerable to staining and water damage.
The fix: Do not soak unglazed tiles. For unglazed zellige, apply a penetrating sealer before grouting, then a protective matte wax in thin layers after grouting is complete. Reseal wet installations every one to two years. Do not over-apply the wax, since too much creates an undesirable film rather than protection.
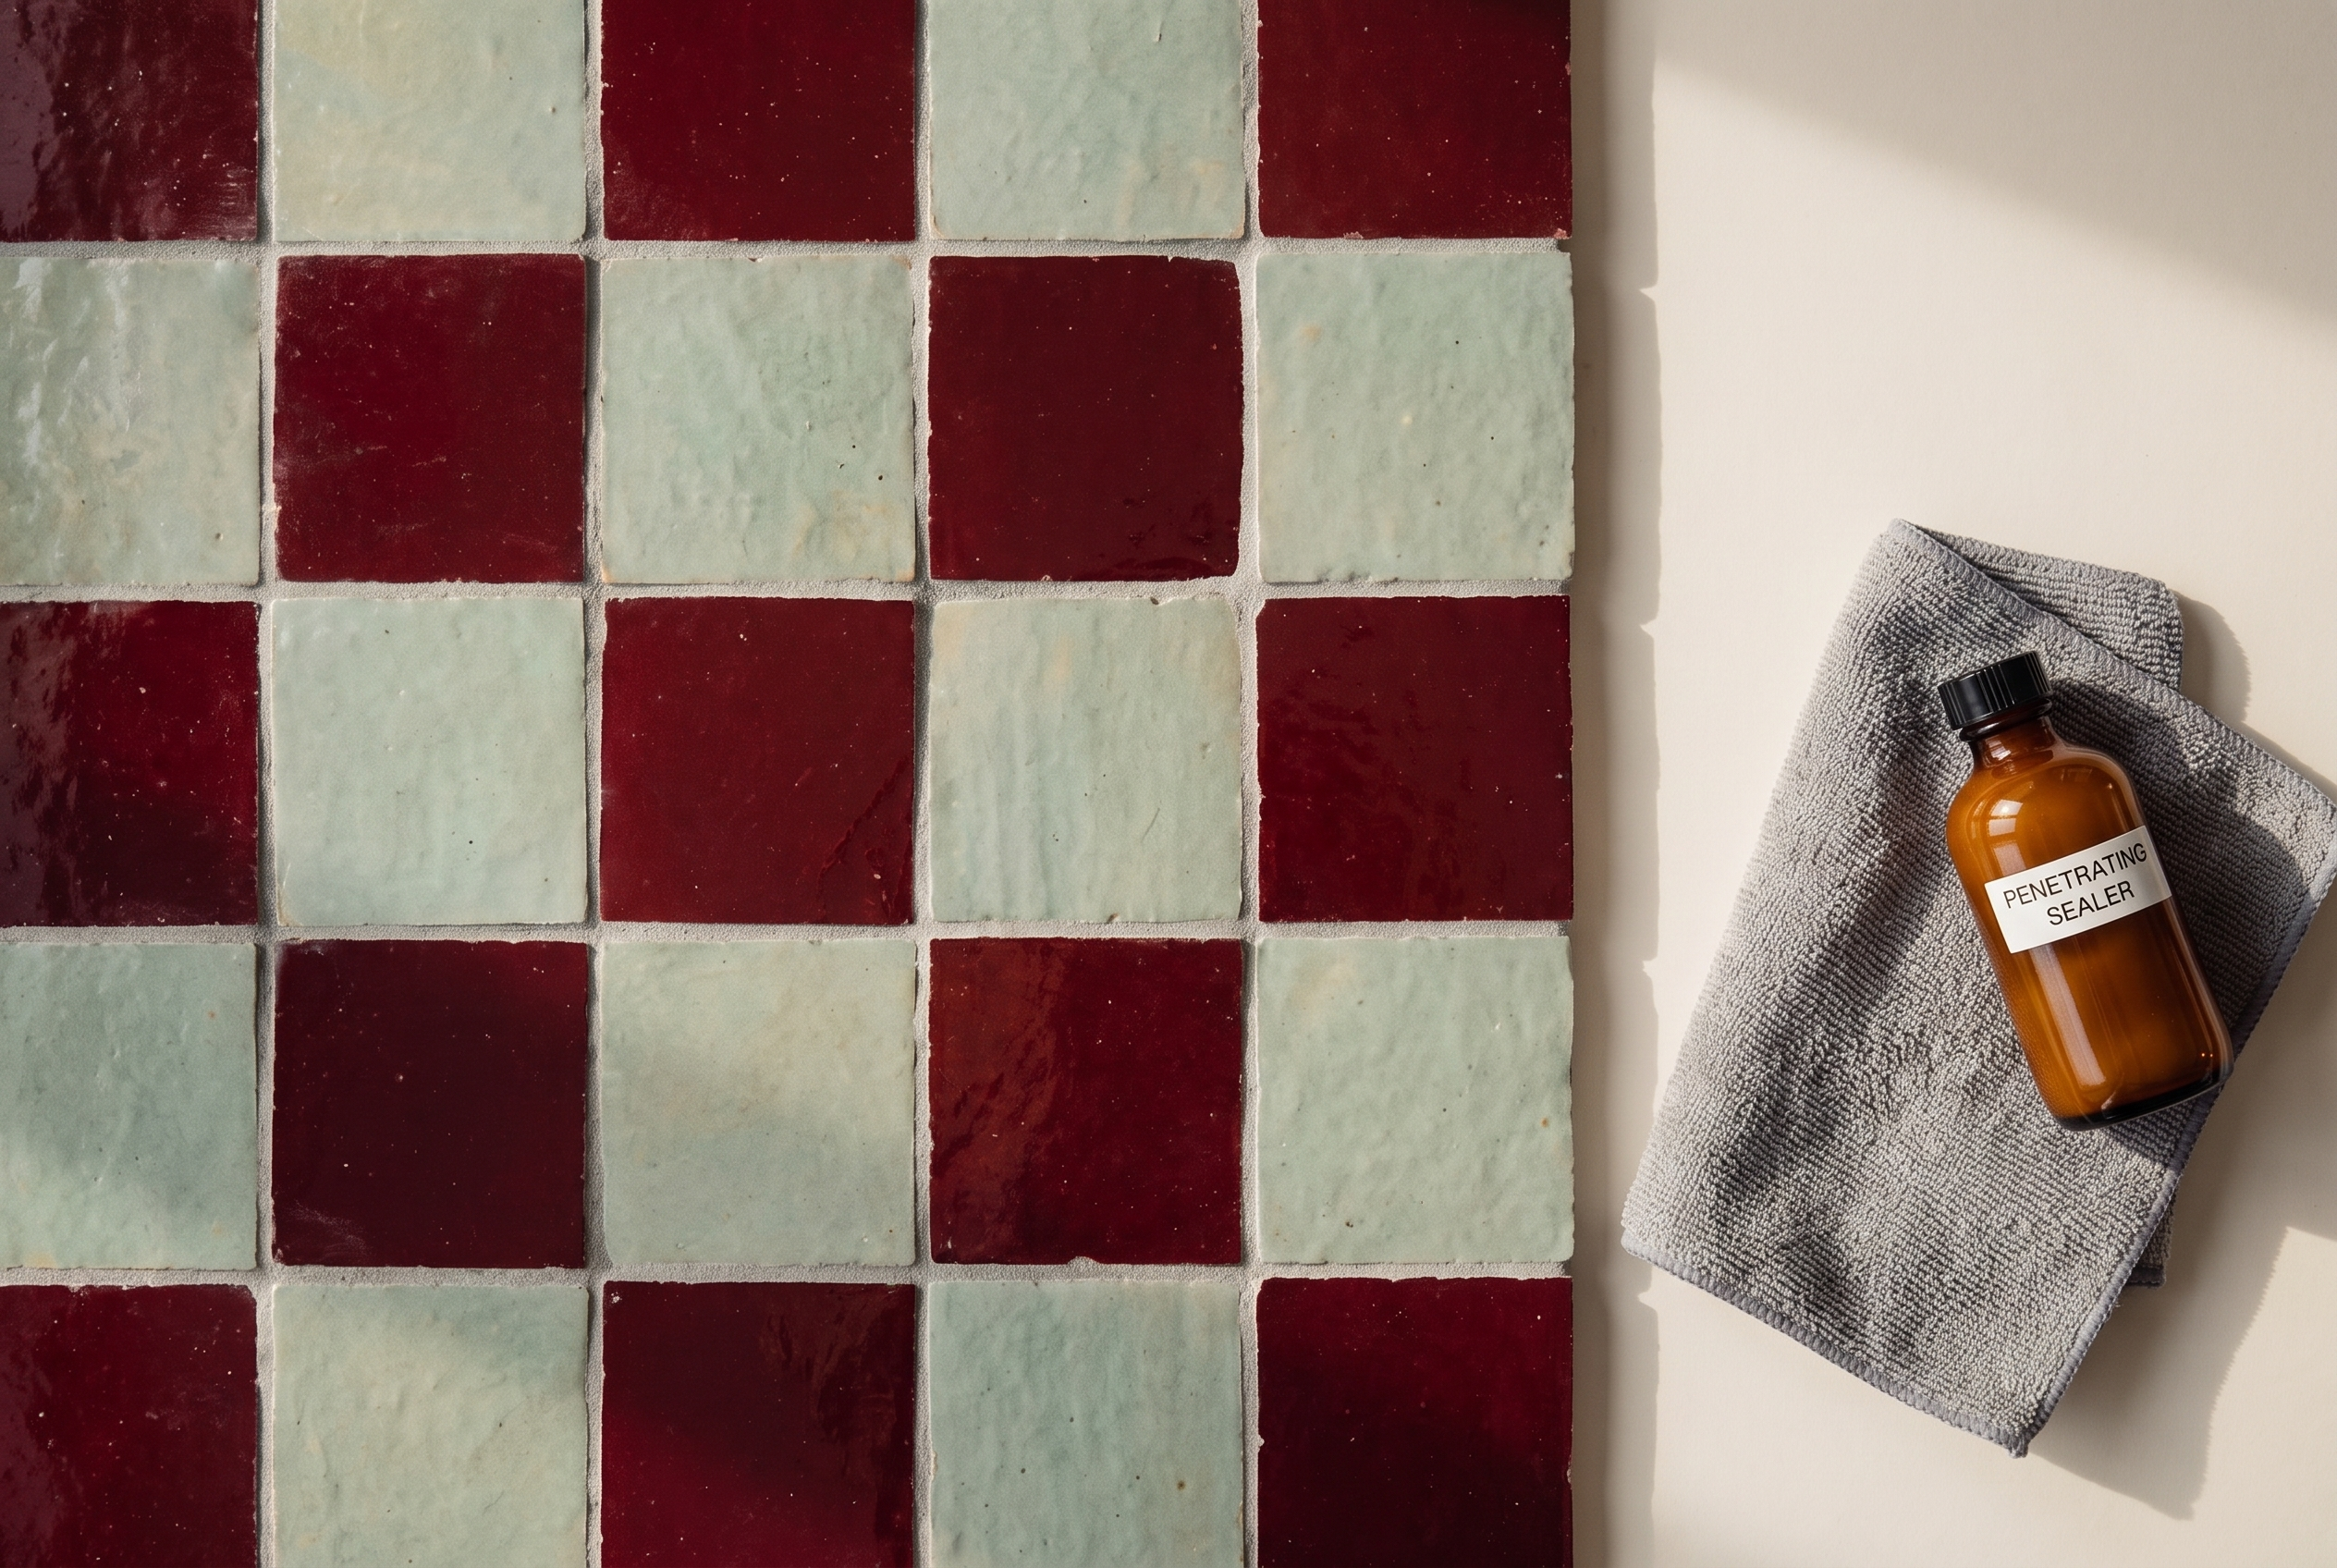

A soft sage green that shows sealing residue easily if over-applied, a good reminder to seal in thin layers.
Mistake 7: Ignoring the Substrate and Fixture Cutouts
Zellige's natural unevenness is a feature on a flat, level substrate and a liability on one that is not. Any waviness or unevenness in the wall beneath the tile gets exaggerated once the tile goes up, turning subtle handmade variation into visible misalignment. Separately, zellige runs noticeably thicker than standard ceramic, which complicates cutouts around outlets, faucets, and other fixtures if it is not planned for in advance.
The fix: Check the substrate with a level before ordering tile, not after. Flatten or re-skim any low or high spots first. For fixture cutouts, confirm your plumber or electrician knows the finished tile thickness in advance, since standard extension kits sized for thin ceramic often will not accommodate it.
Get It Right the First Time
None of these seven mistakes are hard to avoid once you know to look for them. Zellige rewards planning (dry layout, grout color, substrate check) and punishes shortcuts (soaking tile, skipping the buttering step, standard thin-set). Budget the extra planning time and the tile will do what it is supposed to do: catch the light differently across a wall no one else has.
Frequently Asked Questions
Can I install zellige tile myself, or do I need a professional?
An experienced DIYer can install zellige successfully by following the dry layout, medium-bed mortar, and grout joint guidance above. That said, most suppliers recommend a professional with prior zellige experience, since the dimensional variation is easy to get wrong on a first attempt.
Why does my zellige tile look uneven after installation?
Uneven results usually trace back to one of three causes: an unlevel substrate that exaggerated the tile's natural variation, standard thin-set that could not absorb thickness differences between tiles, or skipping the dry layout step that would have caught an awkward color cluster.
What grout should I use with zellige tile?
Match the grout color to the tile, or go one shade lighter, rather than choosing a high-contrast color. For product-specific recommendations, Mapei Ultracolor Plus FA works for glazed zellige and Mapei Flexcolor CQ for unglazed.
How much extra zellige tile should I order?
Order 10 to 15 percent more than your measured square footage. The overage gives you room to swap out distracting or mismatched tiles during the dry layout, rather than being forced to use every piece that arrives.
Does zellige tile need to be sealed before or after grouting?
Before. Unglazed zellige should get a penetrating sealer prior to grouting, then a protective matte wax after grouting is finished and cured. Glazed zellige generally does not require sealing.
Curious what installers themselves find hardest about working with zellige? See our deeper look at the most challenging part of a zellige tile installation.
Get the Colors Right Before You Order
Handmade in Fes, Morocco, from $18 to $22 per square foot. Order samples to see the glaze variation in person before you plan your layout.
Shop Zellige Tile →